TL;DR
Mold removal inside walls is the process of opening wall cavities, physically removing contaminated drywall and insulation, treating structural framing, and rebuilding after the space is dried to safe moisture levels. It differs from surface cleaning because mold behind walls grows invisibly and can colonize wet materials within 24 to 48 hours. The single most important step is fixing the moisture source (usually a plumbing leak) before any remediation begins. For areas under 10 square feet, DIY may be reasonable, but larger colonies require professional containment, HEPA filtration, and proper disposal.
What Does “Mold Removal Inside Walls” Actually Mean?
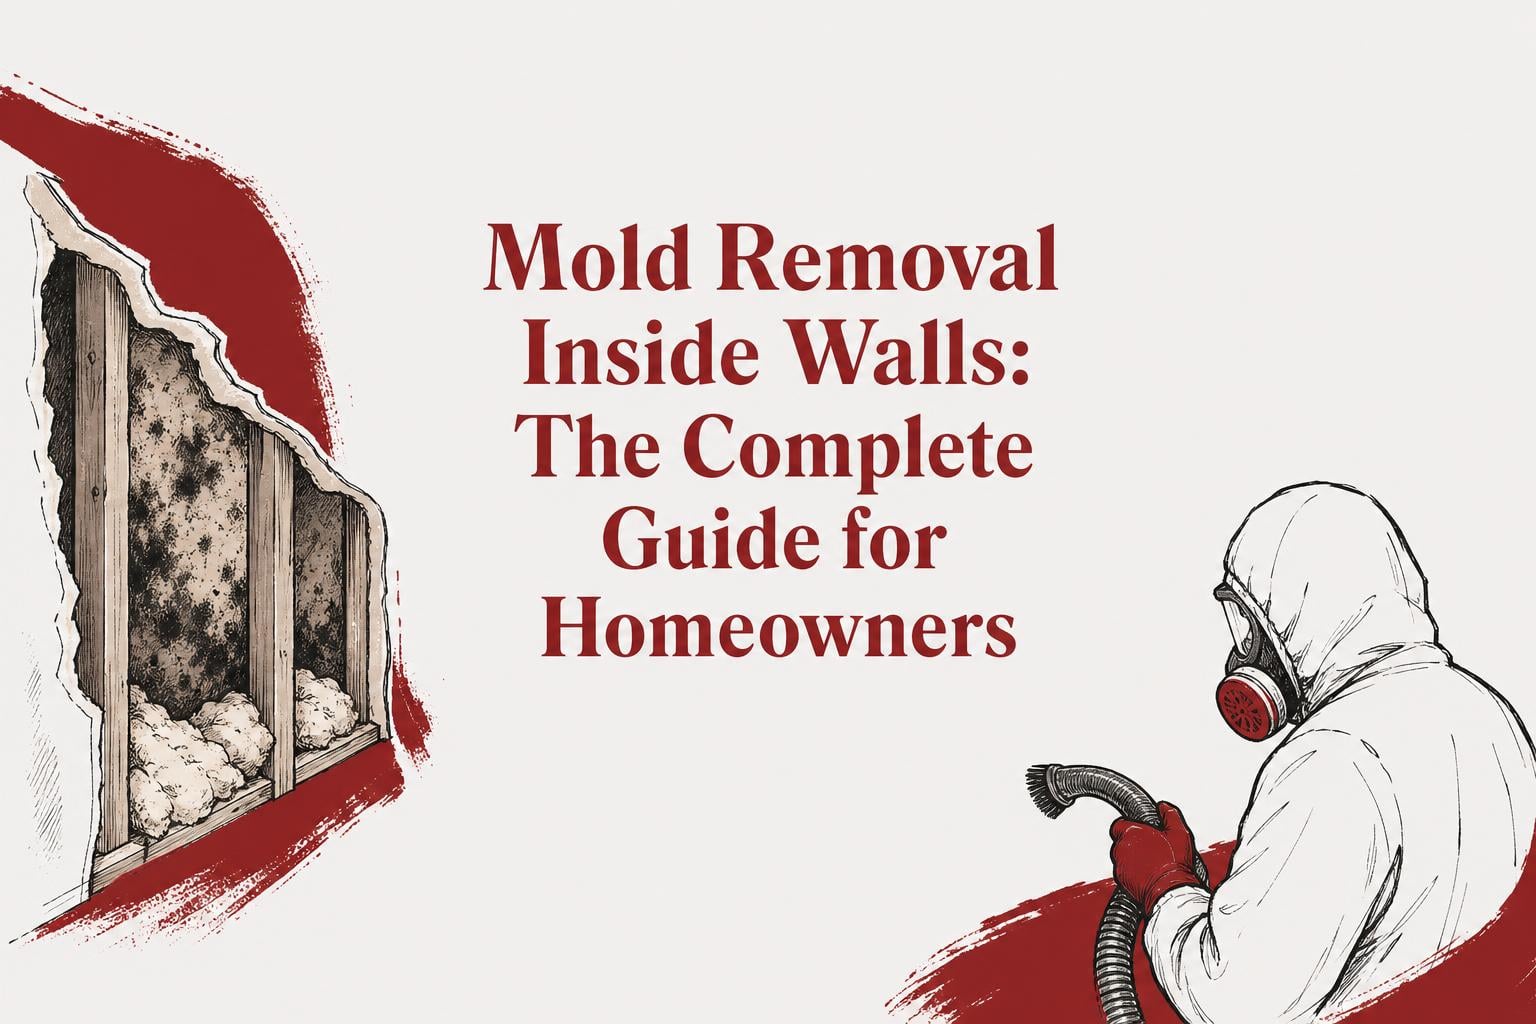
Mold removal inside walls refers to the systematic process of eliminating mold colonies growing within enclosed wall cavities, not just on visible painted surfaces. The distinction matters. Wiping mold off the face of a wall is surface cleaning. Removing mold from inside a wall means opening the cavity, cutting out contaminated drywall and insulation, HEPA-vacuuming the space, treating wooden framing with EPA-approved antimicrobials, drying everything to safe moisture levels, and then rebuilding.
The term “remediation” is more accurate than “removal” in professional settings. True removal implies eliminating every last spore, which is impossible since mold spores exist everywhere in outdoor and indoor air. Remediation means returning mold levels to normal, safe concentrations by physically removing the colonized materials and addressing the conditions that allowed growth.
Key terms you’ll encounter throughout this process:
- Wall cavity: The space between interior drywall and the exterior sheathing, typically containing insulation, electrical wiring, and sometimes plumbing pipes.
- Hyphae: The root-like structures mold sends deep into porous materials like wood and drywall. These are why surface treatments fail.
- Containment: Plastic sheeting and negative air pressure setups that prevent spores from spreading to clean areas during demolition.
- HEPA filtration: High-Efficiency Particulate Air filters that capture 99.97% of particles 0.3 microns and larger, including mold spores.
If you suspect a plumbing leak behind your walls is causing mold growth, acting fast is critical. 24-hour plumbers in Philadelphia can stop the water source before colonization spreads.
Why Mold Grows Inside Walls
Mold needs three things: moisture, organic material to feed on, and limited airflow. Wall cavities provide all three in abundance.
Drywall Acts Like a Wick
Drywall is highly porous. When water from a leaking pipe, condensation line, or roof intrusion reaches the wall cavity, the drywall draws moisture upward by 12 to 24 inches above the actual waterline. Because wall cavities lack proper air circulation, this trapped water cannot evaporate. The result is a dark, damp, stagnant environment where mold thrives unchecked for weeks or months before anyone notices.
Common Moisture Sources
The most frequent causes of moisture inside walls include:
- Plumbing leaks: Slow drips from supply lines, drain connections, or water heater fittings routed through wall cavities. These are the number one cause.
- Condensation: Cold water pipes in humid environments “sweat,” depositing moisture on surrounding materials. Poorly insulated exterior walls also create condensation points.
- Roof intrusion: Water from roof leaks can travel along rafters and sheathing before dripping down into wall cavities far from the original entry point.
- Sewage backups: When toilet clogs and backups force contaminated water into walls, the mold risk is immediate and the health hazard is compounded.
- Flooding: Any significant water event that isn’t dried within the critical window.
The 24 to 48 Hour Rule
This is the timeline every homeowner needs to know. Mold can begin colonizing wet surfaces within 24 to 48 hours of water exposure. Microscopic spores already present in wall cavities remain dormant until moisture triggers them into active growth. Once activated, a colony can establish itself in days and spread across several square feet within a week.
Philadelphia’s Unique Risk Factors
Philadelphia has one of the oldest housing stocks in the country. Rowhouses in neighborhoods like Kensington, Point Breeze, and Germantown were built long before modern ventilation standards existed. Many feature plaster walls, brick basements, and no vapor barriers. These materials and construction methods trap moisture and create ideal conditions for mold colonization. Combined with the city’s humid summers, Philadelphia homes face higher baseline mold risk than newer construction in drier climates.
If a burst pipe or sudden leak has hit your home, knowing what to do before an emergency plumber arrives can buy you critical hours and prevent mold from gaining a foothold.
Signs of Mold Behind Walls
Mold inside walls is invisible by definition. You can’t see it without opening the wall. But it leaves clues.
1. Musty, Earthy Odor
Persistent musty odors (earthy, stale, damp, or ammonia-tinged) are often the first indicator of hidden mold growth behind walls. If the smell is strongest near a specific wall, baseboard, or corner and doesn’t go away with cleaning, the source is likely inside the cavity.
2. Water Stains or Discoloration
Water stains or discoloration on walls, ceilings, or floors indicate a moisture problem. These stains may appear yellowish-brown, and they sometimes grow slowly over weeks. Even a small stain can signal a much larger wet zone behind the surface.
3. Paint That’s Peeling, Cracking, or Bubbling
Paint that peels, cracks, or bubbles is a sign that moisture is affecting the wall from the inside out. The adhesion fails because the drywall substrate is wet. This is different from normal paint aging, which typically doesn’t produce bubbles or soft spots.
4. Soft or Spongy Drywall
Press the wall with your thumb near any suspicious area. If the drywall gives or feels soft, the material is compromised by water saturation and likely colonized on the hidden side. Healthy drywall feels hard and unyielding.
5. Health Symptoms That Improve Away from Home
Watch for respiratory symptoms, allergy flare-ups, or headaches that improve when you leave home and return when you come back. This pattern suggests your indoor environment is the problem. Practitioners on Reddit frequently describe this as the symptom that finally pushed them to investigate, often after months of unexplained congestion or sinus issues.
How Mold Inside Walls Is Detected
Suspecting mold and confirming it are different challenges. Several tools and techniques bridge that gap.
The Outlet Test (Practitioner Tip)
This is a detection method that rarely appears in generic articles, but experienced remediators use it regularly. Wall cavities are slightly pressurized, so air escapes through electrical outlets and light switches. Turn off the breaker to the room for safety, remove the plastic outlet cover plate, and sniff directly near the opening. If the musty smell is significantly stronger inside the outlet than in the room, you likely have mold growing behind that wall. This costs nothing and takes two minutes.
Moisture Meters
Pin-type or pinless moisture meters measure the moisture content of building materials. Readings above 15 to 20% wood moisture equivalent indicate potential mold risk. You can buy a basic model for $30 to $50 at any hardware store, and it will tell you whether the wall is wet before you cut into anything.
Thermal Imaging
Thermal imaging cameras reveal cooler zones where moisture accumulates behind walls. Wet areas appear as distinct cold spots on the screen. Professional-grade cameras cost thousands, but many remediation companies include thermal scanning in their inspection.
Borescope Inspection
A borescope involves drilling a small hole into the drywall (usually somewhere easy to patch afterward) and threading a fiber optic camera through to visually inspect the cavity. This confirms mold presence without full demolition and helps determine the extent of contamination before committing to a remediation plan.
Inspection Cuts
For larger suspected areas, professionals may cut 12-inch by 12-inch inspection holes every four feet along the wall, remove any insulation, and use a mirror and flashlight to examine the cavity. This is more invasive but gives the clearest picture.
A Note on DIY Test Kits
Airborne mold test kits sold at hardware stores are unreliable for confirming in-wall mold. Mold spores are always present in air, so these kits almost always return a “positive” result. They tell you nothing about whether the spores are coming from inside your walls or from normal outdoor air circulation.
The Mold Removal Process: Step by Step
Professional mold removal inside walls follows a specific sequence. Skipping steps or reordering them leads to recontamination, wasted money, or both.
Step 1: Fix the Moisture Source
This is non-negotiable. Effective mold removal inside walls only works when the moisture source is fixed first. Otherwise, the mold returns. If the cause is a plumbing leak, the pipe must be repaired or replaced before remediation begins. If it’s condensation, the insulation and ventilation problem must be solved. Understanding average plumber pricing in Philadelphia helps homeowners budget for this critical first step alongside the remediation cost.
Step 2: Document Everything
Take wide-angle and close-up photos before touching the wall. Record dimensions and moisture meter readings. Sketch affected cavities and log dates. This documentation matters for insurance claims, and insurers may deny coverage without it.
Step 3: Check for Asbestos and Lead
Before any demolition, pause and rule out asbestos and lead-based paint. This is especially important in Philadelphia’s older housing stock, where homes built before 1978 commonly contain both. Testing kits are available at hardware stores, or a certified inspector can provide results within days. If either hazard is present, additional safety protocols (and sometimes separate contractors) are required.
Also consider what’s behind the wall besides mold. Older homes may have gas lines routed through wall cavities. If you smell gas during demolition, stop immediately. Knowing what to do during a gas leak could prevent a serious emergency.
Step 4: Set Up Containment
Before cutting into walls, cover doorways, air vents, and other openings to the rest of the home with 6-mil polyethylene sheeting. Set up negative air pressure using a HEPA-filtered fan exhausting to the exterior. This containment prevents mold spores (which become airborne during demolition) from spreading to unaffected areas. The EPA’s remediation guidelines require containment barriers, HEPA air filtration, and negative air pressure for colonies exceeding 10 square feet.
Step 5: Remove Contaminated Materials
All mold-colonized material must be physically removed and bagged for disposal. There’s no shortcut here.
- Drywall: Must be replaced if mold growth is established on the inside surface. Use the “2-foot rule”: remove drywall at least two feet past any visible mold, because growth extends beyond what the eye can see.
- Insulation: Fiberglass or cellulose insulation inside a contaminated wall cavity cannot be effectively disinfected. It must be removed and replaced with new material.
- Other porous materials: Wallpaper, fabric, cardboard backing, anything porous that shows contamination gets discarded.
After removal, HEPA-vacuum the entire cavity, including studs, sill plates, and any remaining surfaces.
Step 6: Treat the Framing
If wooden studs or joists exhibit mold growth, the mold must be physically removed by wire brushing or sanding. After physical removal, spray the wood with an EPA-approved antimicrobial disinfectant. Some professionals also apply an antimicrobial encapsulant as a secondary barrier.
Step 7: Dry to Safe Levels, Then Rebuild
Use commercial dehumidifiers and air movers to bring the cavity’s moisture content below 15%. Confirm with moisture meter readings before closing the wall. Rebuilding over damp framing restarts the entire cycle.
The Bleach Myth: Why It Doesn’t Work on Walls
This is the single biggest misconception homeowners carry into the mold removal process.
Yes, bleach kills mold on non-porous surfaces like tile, glass, and metal. But bleach cannot penetrate porous materials like wood, drywall, and fabric where mold roots grow deep beneath the surface. The EPA does not recommend bleach for routine mold cleanup due to health hazards and limited effectiveness. OSHA has taken an even firmer position, stating that bleach should not be used in mold remediation.
Here’s the chemistry. Roughly 90% of household bleach is water. On a non-porous surface, the sodium hypochlorite (the active ingredient) sits on top and oxidizes the mold. On porous materials like drywall or wood, the bleach component stays on the surface while the water soaks deep into the material, actually feeding moisture to the mold’s root system. Mold hyphae extend deep into porous substrates, protected from bleach’s oxidizing action. When you spray bleach on moldy drywall, you’re eliminating perhaps 10 to 15% of the organism while the remaining 85 to 90% continues thriving beneath the surface.
The surface looks clean. The mold appears gone. Then it comes back, often within weeks, because the root network was never touched.
What Professionals Use Instead
Certified remediators use EPA-registered antimicrobial products specifically formulated to penetrate porous materials. These include quaternary ammonium compounds, hydrogen peroxide-based solutions, and botanical antimicrobials. But the most important point is that chemical treatment alone is never sufficient. Physical removal of colonized materials is always the primary action. The antimicrobial is a supplementary step, not a replacement for demolition.
DIY vs. Professional: The 10 Square Foot Threshold
The EPA established a clear framework: areas under approximately 10 square feet can be handled by a homeowner with proper precautions (N95 respirator, goggles, gloves, containment). Areas between 10 and 100 square feet require professional equipment and protocols. Areas over 100 square feet need a full remediation team with engineering controls.
When You Can DIY
- The affected area is clearly under 10 square feet
- You’ve identified and fixed the moisture source
- The water was clean (not sewage)
- No HVAC ducts are involved
- Nobody in the household is immunocompromised
- You’re comfortable with drywall repair
When to Always Call a Professional
- The area exceeds 10 square feet (or you can’t determine the full extent)
- The water source was sewage or gray water
- You can’t locate or stop the leak
- Mold has reached HVAC ductwork
- Anyone in the home has asthma, immune deficiency, or chronic respiratory conditions
- You need the work documented for insurance
One critical caveat from experienced practitioners: visible mold rarely tells the full story. A palm-sized patch on the wall face often indicates a much larger colony hidden inside the cavity. What looks like a 3-square-foot problem on the surface can easily be 30 square feet behind the drywall.
Vetting Contractors in Pennsylvania
Pennsylvania has no state licensing or registration program for mold inspectors or remediators. This means anyone can call themselves a mold removal company. Homeowners must vet contractors themselves. The industry standard certification to look for is the IICRC S520 (Standard for Professional Mold Remediation). Ask for the certification number, check it against the IICRC database, and confirm the company carries mold-specific liability insurance.
Cost Overview: What Mold Removal Inside Walls Actually Costs
National Averages
The cost for mold remediation typically ranges from $1,125 to $3,350, with a national average of around $2,400. Per-square-foot pricing in 2026 runs $10 to $25 for standard residential jobs. Complex projects involving wall cavity access, HVAC contamination, or hazardous mold species run $15 to $30 per square foot.
Philadelphia-Specific Pricing
On average, mold remediation in Philadelphia costs around $2,500, with prices typically ranging between $1,300 and $3,700. Most projects run $10 to $25 per square foot for standard surface and structural remediation.
Wall-Specific Costs
Removing mold from walls specifically can cost anywhere from $1,000 to $20,000, depending on whether the project involves surface removal only or full wall replacement including everything behind it. A small drywall job (a few square feet) might cost between $300 and $825, but that number climbs quickly once framing treatment, insulation replacement, and rebuilding are factored in.
Minimum Job Charges
This catches many homeowners off guard. Most certified remediation companies set a minimum invoice of $500 to $1,500 regardless of job size. If you have 8 square feet of mold on a bathroom wall and the contractor’s minimum is $1,000, your effective per-square-foot rate is $125, far above the standard range. For small jobs, this minimum charge means the “per-square-foot” pricing model breaks down.
Don’t Forget the Plumbing Repair
The total cost of dealing with mold inside walls includes fixing whatever caused the moisture. A plumbing repair might add $150 to $1,500+ depending on the issue. Get a clear picture of Philadelphia plumbing costs before committing to a remediation plan so you’re budgeting for the complete solution, not just half of it.
What’s Included in a Professional Quote
A per-square-foot remediation quote typically bundles labor, containment setup, equipment rental, materials, disposal, and clearance testing into a single rate. Labor represents 50 to 70% of the total. Ask what’s excluded: the plumbing repair, the rebuild (new drywall, paint, trim), and post-remediation air quality testing are often billed separately.
Insurance: Will Your Policy Cover It?
Homeowners insurance doesn’t usually cover mold damage or removal unless it’s the result of a “covered peril.” The distinction matters enormously.
Covered vs. Not Covered
If the mold was caused by something sudden and accidental, like a burst pipe, you’re likely protected. If the mold resulted from a slow leak that went unaddressed for weeks or months, your policy almost certainly won’t pay. Many insurers draw the line at “sudden and accidental” versus “gradual and preventable.”
This is where the plumbing connection becomes financially significant. A pipe that bursts overnight (sudden, covered) creates a very different insurance scenario than a fitting that dripped for six months behind drywall (neglect, denied). Fast response to water events isn’t just about preventing mold; it’s about preserving your insurance eligibility.
Coverage Limits
The average mold coverage limit in Pennsylvania ranges from $10,000 to $50,000 per occurrence. Given that whole-house remediation in Philadelphia can exceed $15,000, reviewing your policy limits before you need them is wise.
Hidden Water Damage Riders
Some policies offer “hidden water damage” endorsements that specifically cover mold caused by leaks you couldn’t see because they were within walls, floors, or behind appliances. If your home is older and has plumbing routed through wall cavities, this rider is worth adding.
Documentation Is Everything
Insurers require documentation. The photos, moisture readings, and date logs from Step 2 of the remediation process directly support your claim. Homeowners who skip documentation often face reduced payouts or outright denials.
Health Risks of Mold Exposure
Mold spores create allergens, irritants, and in some cases toxic substances called mycotoxins. The health effects range from annoying to serious.
Harvard Health notes that mold exposure can cause inflammation anywhere along the respiratory tract. Common symptoms include nasal congestion, coughing, wheezing, eye irritation, and skin rashes. For people with asthma, mold exposure can trigger attacks. For immunocompromised individuals, certain mold species can cause invasive infections.
Children face particular risk. Young children exposed to mold have higher rates of developing asthma and respiratory problems during their first year of life. This is especially concerning in older Philadelphia homes where mold may grow undetected in wall cavities for extended periods.
Property Value Impact
Beyond health, mold damages property values. Academic research estimates that mold can decrease a home’s value by 20% to 37%. For a $300,000 Philadelphia rowhome, that’s $60,000 to $111,000 in lost equity, far exceeding the cost of timely remediation.
Prevention: Keeping Mold Out of Your Walls
The best mold remediation is the one you never need. Prevention comes down to moisture control.
Fix leaks immediately. Even a small drip behind a wall can create conditions for mold within 48 hours. Don’t wait. Don’t “monitor” it. Fix it.
Maintain indoor humidity below 50%. Use dehumidifiers in basements and crawl spaces. Run bathroom exhaust fans during and for 30 minutes after showers. Vent dryer exhaust to the outside, never into a wall cavity or attic.
Insulate cold water pipes. Foam pipe insulation costs pennies per foot and eliminates the condensation that forms on cold pipes in humid weather.
Inspect problem areas annually. Check under sinks, around water heaters, behind washing machines, and near any plumbing access panels. Look for discoloration, drips, or mineral deposits that indicate past leaks.
Address grading and drainage. Water pooling against your foundation eventually finds its way into basement walls. Proper grading slopes soil away from the foundation at a minimum of 6 inches over 10 feet.
Know your home’s plumbing layout. In Philadelphia’s older rowhomes, supply and drain lines often run through interior wall cavities between shared walls. Understanding where your pipes are helps you respond faster when problems arise. If you’re unsure about your home’s plumbing, find a plumber in Philadelphia who can assess your system before a small leak becomes a mold problem.
Frequently Asked Questions
How fast does mold grow inside walls after a leak?
Mold can begin colonizing wet materials within 24 to 48 hours. Within a week, a small colony can spread across several square feet. This is why water damage restoration professionals emphasize rapid drying. If you’ve had a plumbing leak, the clock starts immediately.
Can I remove mold inside walls myself?
For areas under 10 square feet with a known, fixed moisture source, DIY is reasonable if you use proper protective equipment (N95 respirator, goggles, gloves) and set up containment. For anything larger, or if the water source was sewage, call a professional. The visible patch is almost always smaller than the actual colony behind the drywall.
Does bleach kill mold inside walls?
No. Bleach works on non-porous surfaces like tile and glass but cannot penetrate porous materials like drywall and wood where mold roots (hyphae) grow. The EPA does not recommend bleach for mold cleanup, and OSHA says it should not be used in mold remediation. Physical removal of contaminated materials is the only effective approach for mold inside walls.
How much does it cost to remove mold from inside a wall?
Nationally, wall-specific mold remediation ranges from $1,000 to $20,000 depending on the extent of contamination. Small drywall jobs may cost $300 to $825, while projects requiring full wall replacement and framing treatment climb quickly. In Philadelphia, the average remediation project costs around $2,500. Factor in the plumbing repair cost as well, since that’s a separate expense.
Will homeowners insurance cover mold inside my walls?
Only if the mold resulted from a covered peril, typically a sudden and accidental event like a burst pipe. Mold from gradual leaks, deferred maintenance, or flooding (without a flood policy) is usually excluded. Pennsylvania policies typically cap mold coverage at $10,000 to $50,000 per occurrence. Document everything from the moment you discover the problem.
How do I know if there’s mold behind my walls if I can’t see it?
The most common signs are a persistent musty odor, water stains or discoloration, peeling or bubbling paint, soft drywall, and health symptoms (congestion, headaches) that improve when you leave the house. The “outlet test” is a quick check: turn off the breaker, remove an outlet cover plate on the suspect wall, and sniff near the opening. A strong musty smell from inside the cavity suggests hidden mold.
Does Pennsylvania require mold remediation contractors to be licensed?
No. Pennsylvania has no state licensing or registration program specifically for mold inspectors or remediators. This means homeowners must vet contractors themselves. Look for IICRC S520 certification, which is the industry standard for professional mold remediation. Ask for proof of certification and mold-specific liability insurance before hiring.
What’s the connection between plumbing leaks and mold inside walls?
Plumbing leaks are the most common cause of mold inside walls. Pipes routed through wall cavities can develop slow drips that go unnoticed for months, saturating drywall and insulation. Because wall cavities have no airflow, the moisture never evaporates. Fixing the plumbing is always Step 1 of any mold remediation project, and it’s the only way to ensure the mold doesn’t return after removal.